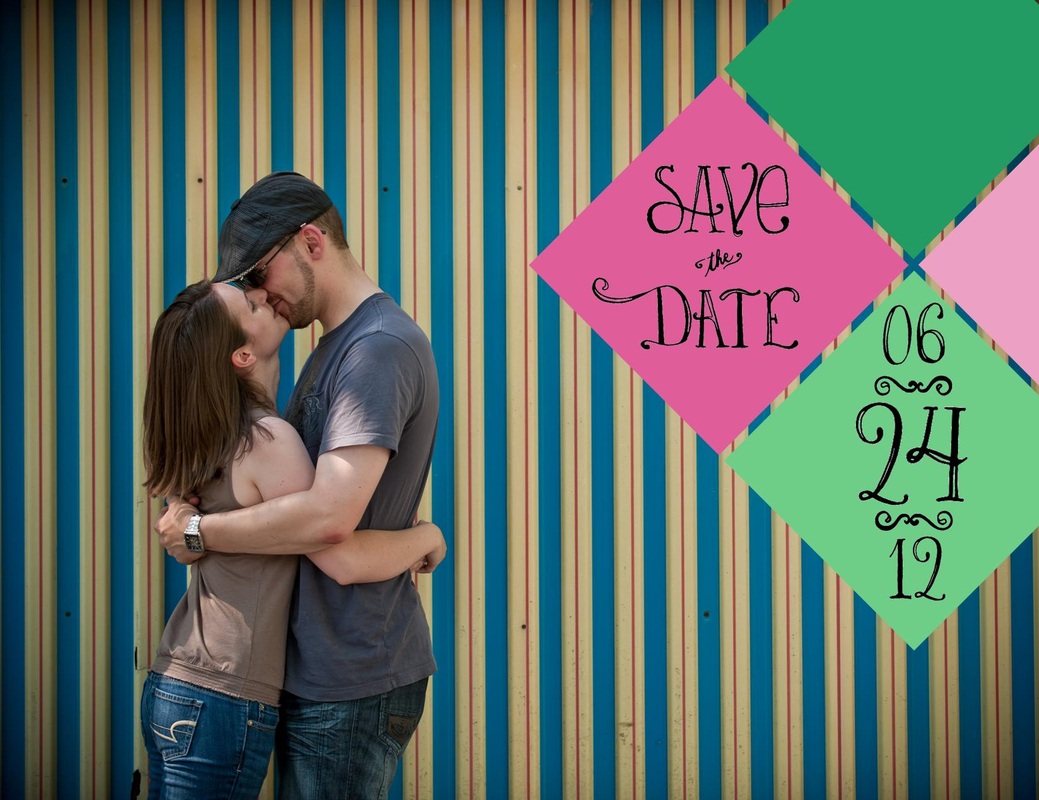
Save The Dates
The postcards were printed through Vista Print. Thanks to Vista Print being so awesome, I only payed $6.46 for 100 standard sized postcards.
If I had unlimited expenses or wanted to splurge on my Save the Dates, I would have liked to print through moo.com. Moo.com allows you to print multiple different fronts for your postcard order. I like the idea of being able to use several of our amazing engagement pictures for our Save The Dates, but I'd rather save my money especially since these will most likely just get thrown out in the end.
Here is my inspiration from seller sgcc on Etsy:

This is how mine turned out:
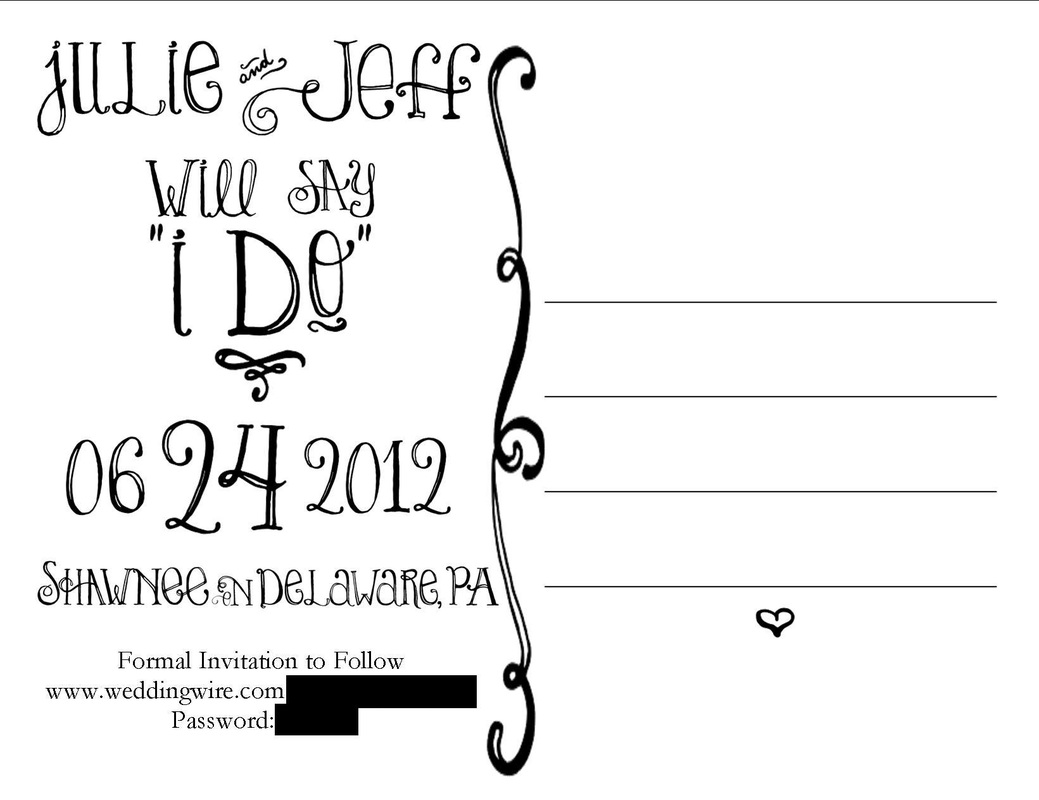
The font used is called Lady Rene and can be found over at My Fonts.
Invitations
My original goal was to score a version of Adobe Creative Suite so that I could get going on my invitations. Unfortunately, that wasn't in the cards for me. However, luck was on my side when I decided to do an Etsy search for mason jar invitations. I had done the search a few times before, but nothing to my liking came up. This time however I was surprised to see this beauty:
.
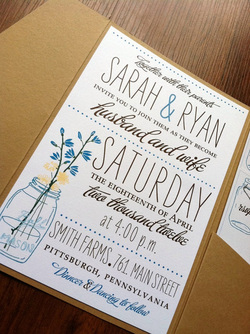
I instantly knew that this was my invitation. The designer is Etsy seller Krissy of New, Borrowed, and Blue and she has been a true delight to work with. She has customized the design to fit my hot pink and green color scheme as well as incorporating the Lady Rene font which I fell in love with while putting together my Save the Dates.
Krissy designed the invitation, reception and response cards for me. I will print them out and assemble them myself. I ordered my supplies from Cards and Pockets.
I will be using Fairway (green) for the panel pocket, Azalea (pink) for the response envelope and Snow White for our outer envelope. I also settled on their White Linen paper to print all of my materials on. The texture was amazing and it printed beautifully through my cheap printer. I am extremely happy with the quality and the fast shipping from Cards and Pockets.

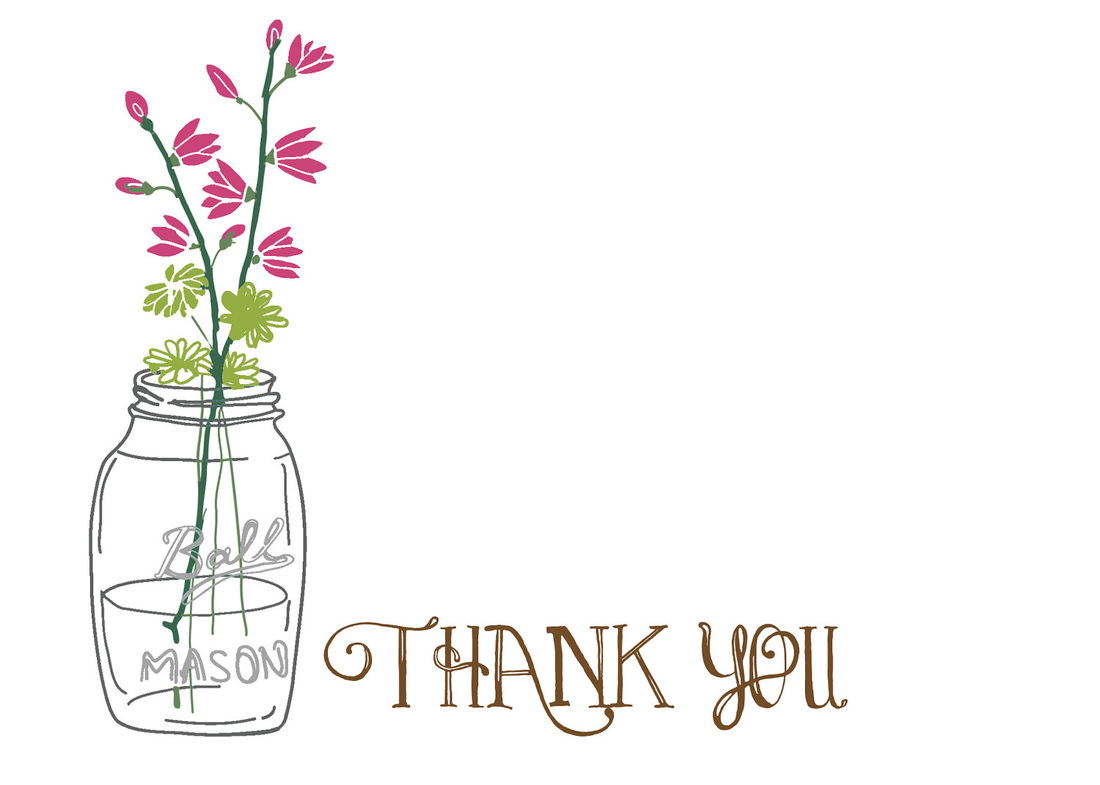
Above is the Response card that Krissy designed for me as well as a bonus(!) Thank You file. She was just so great to work with. I can't rave enough about how amazing my invitations came out. Thanks Krissy!
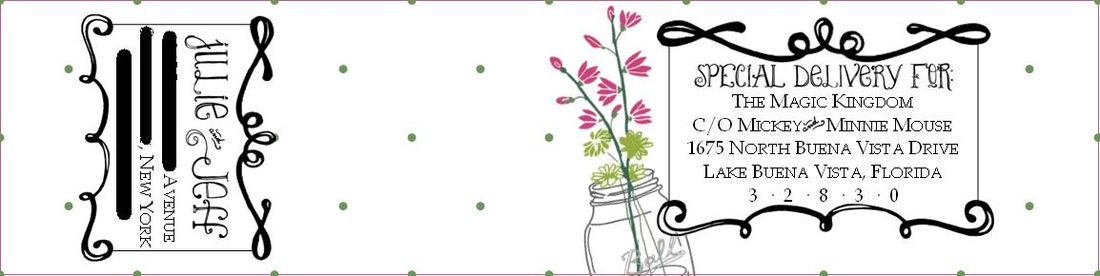
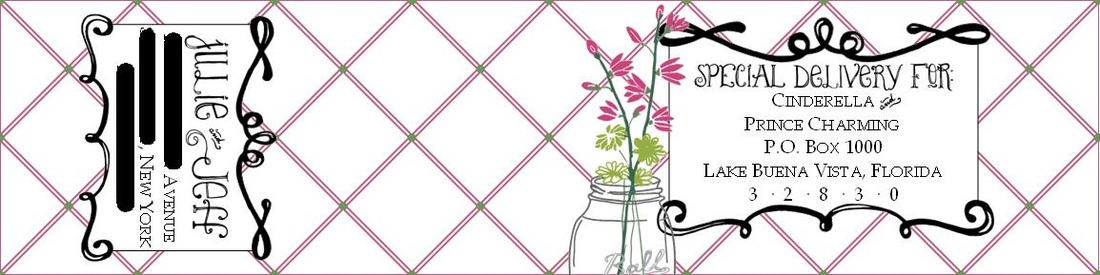
Wrap-Around Address Labels
I love the wrap-around address labels. I don't want to spend money on calligraphy, and although I hand wrote all of the addresses on our Save the Dates, I wanted something a bit nicer for our invitations. Below are the two designs that I came up with. I love how they turned out and know they will look great with our invitations. I have tons of left over sticker paper from my paper straw flags and will print these out on that. I was able to fit four labels on a page.
Guest "Book"
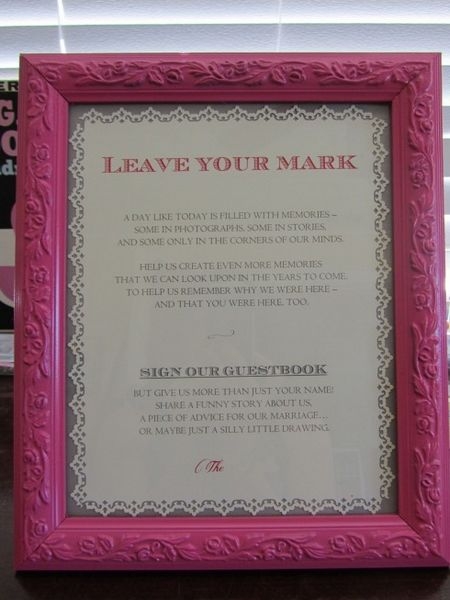
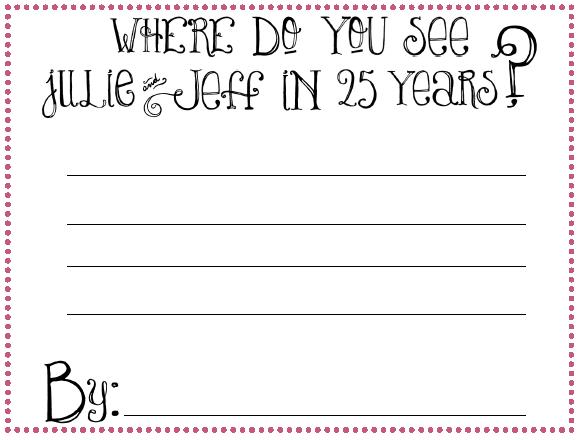
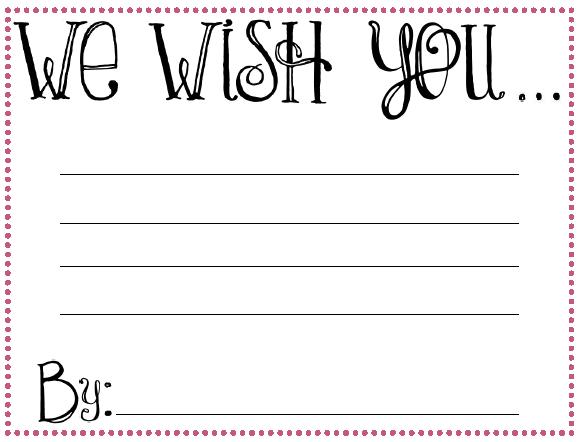
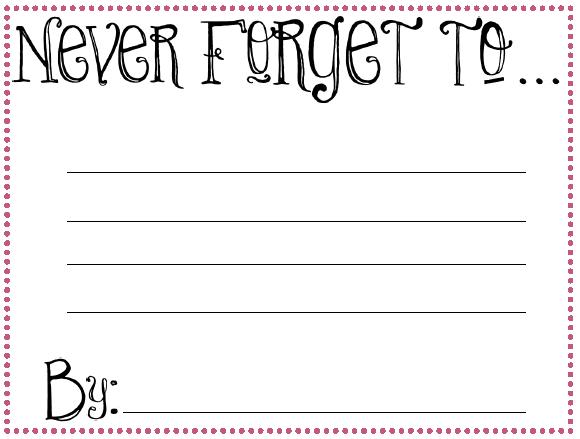
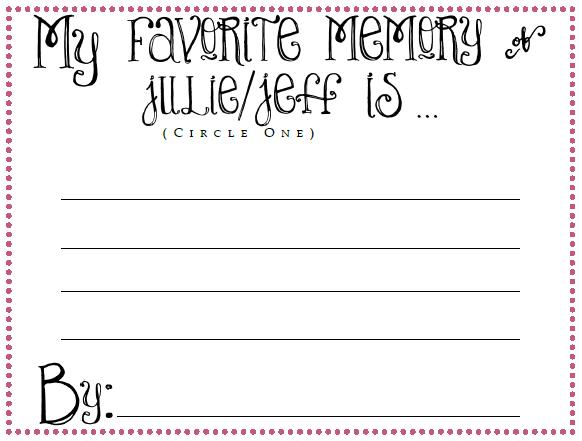
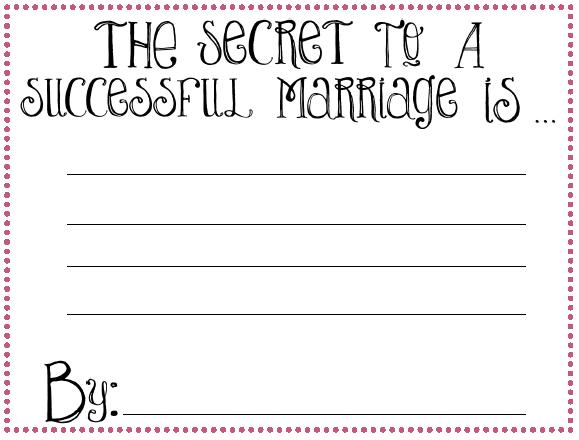
I wanted to do something just a little bit different than the traditional guest book. I became a fan of guest advice cards since the first time I came across them. I loved the idea of guests offering up more then just their name in a book. I designed 5 different cards for guests to choose from and an instructions sheet that I will have framed next to the cards.
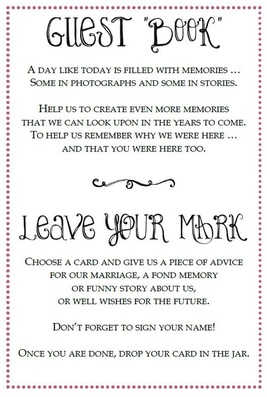
My instructions
|
Inspiration picture (Mrs. Ladyfingers on Weddingbee)
|
The cards for guests to choose from:
Welcome Bag Door Hangers
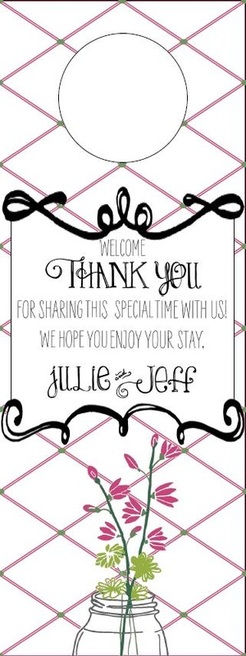
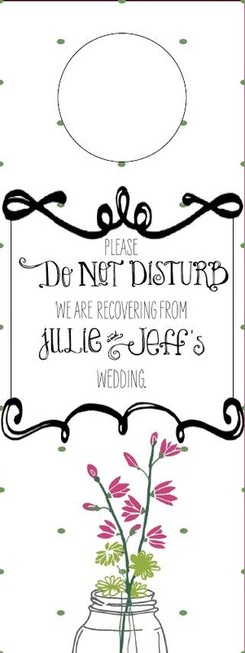
I made door hangers for our wedding guest. Many of our guests will be staying at our wedding venue, and I liked the idea of including these in the welcome bags. My inspiration comes from Etsy seller TSK Design Boutique.
Note: Decided not to do these. Made welcome letters instead to go in the welcome bags.
Note: Decided not to do these. Made welcome letters instead to go in the welcome bags.
|
|
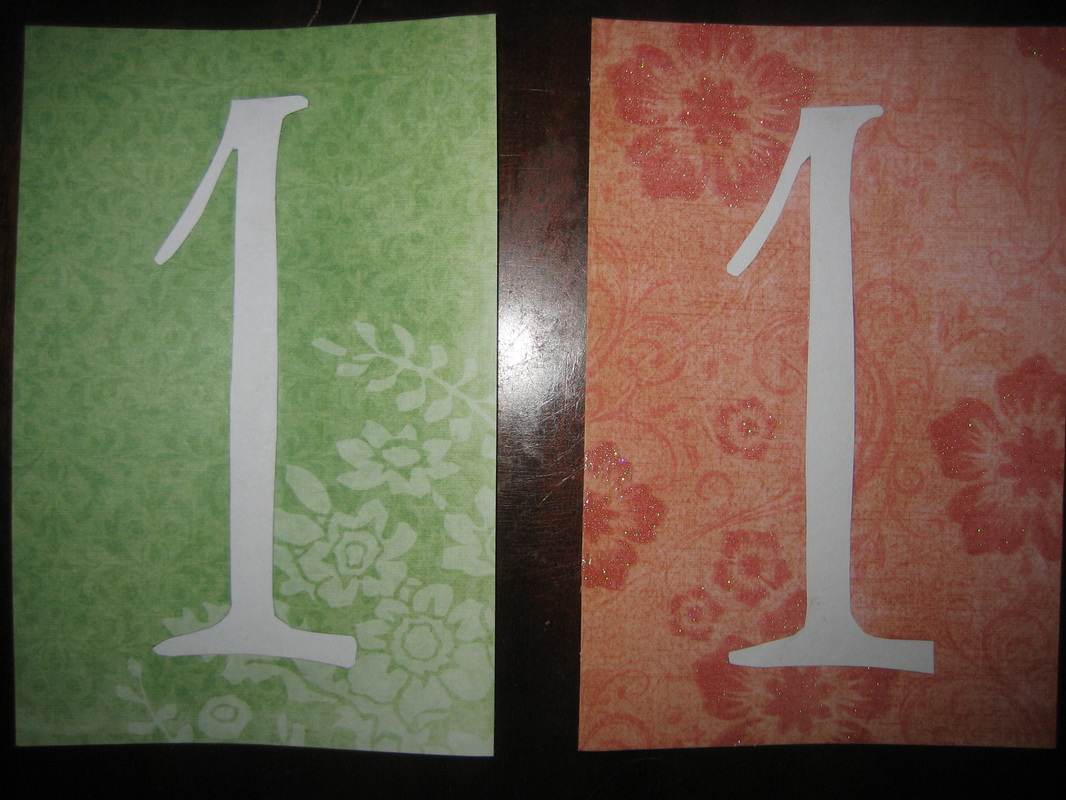
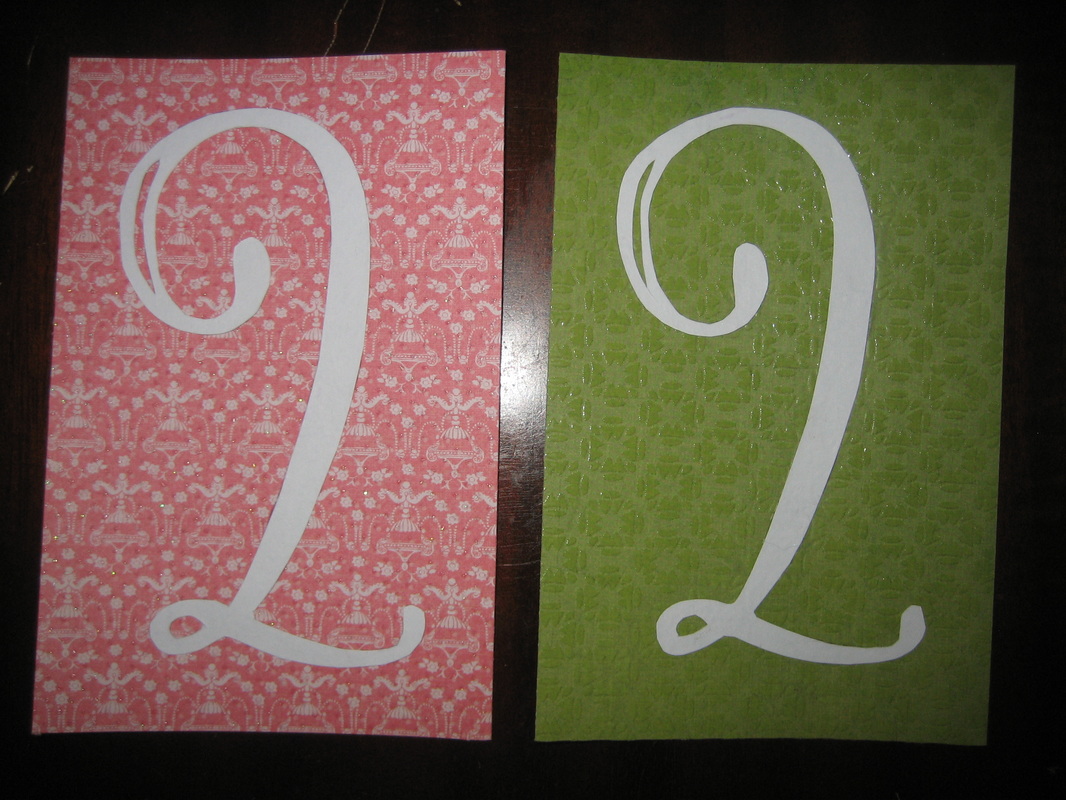
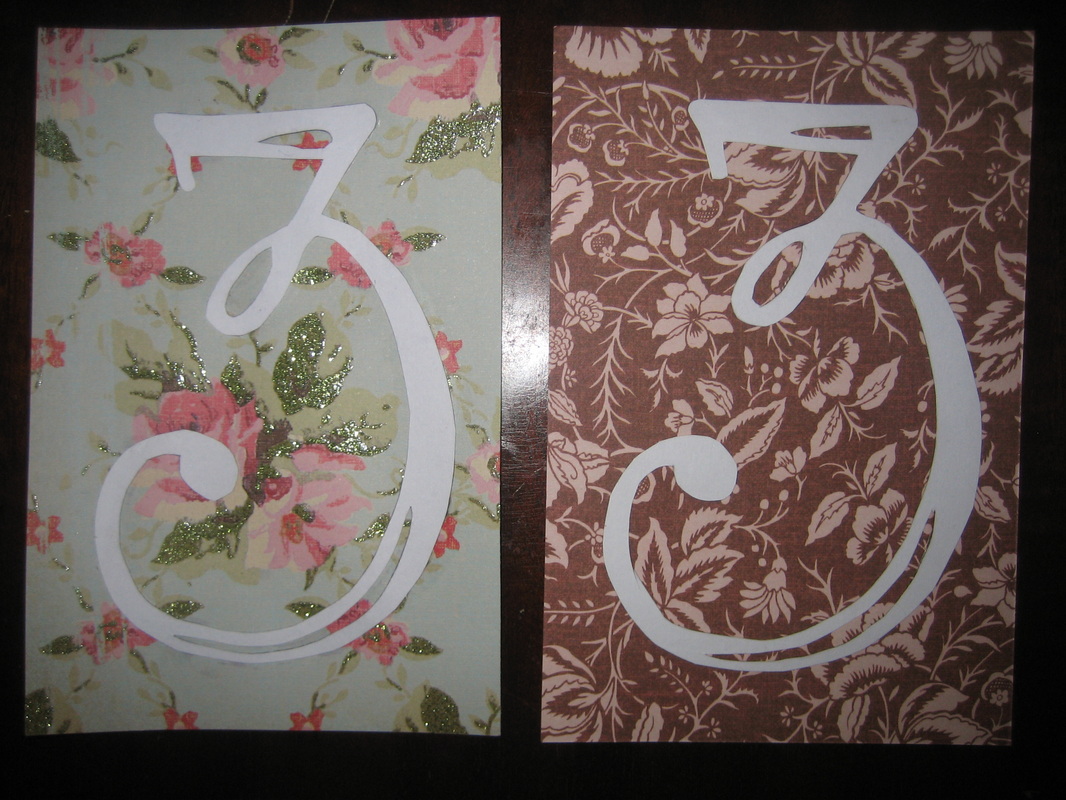
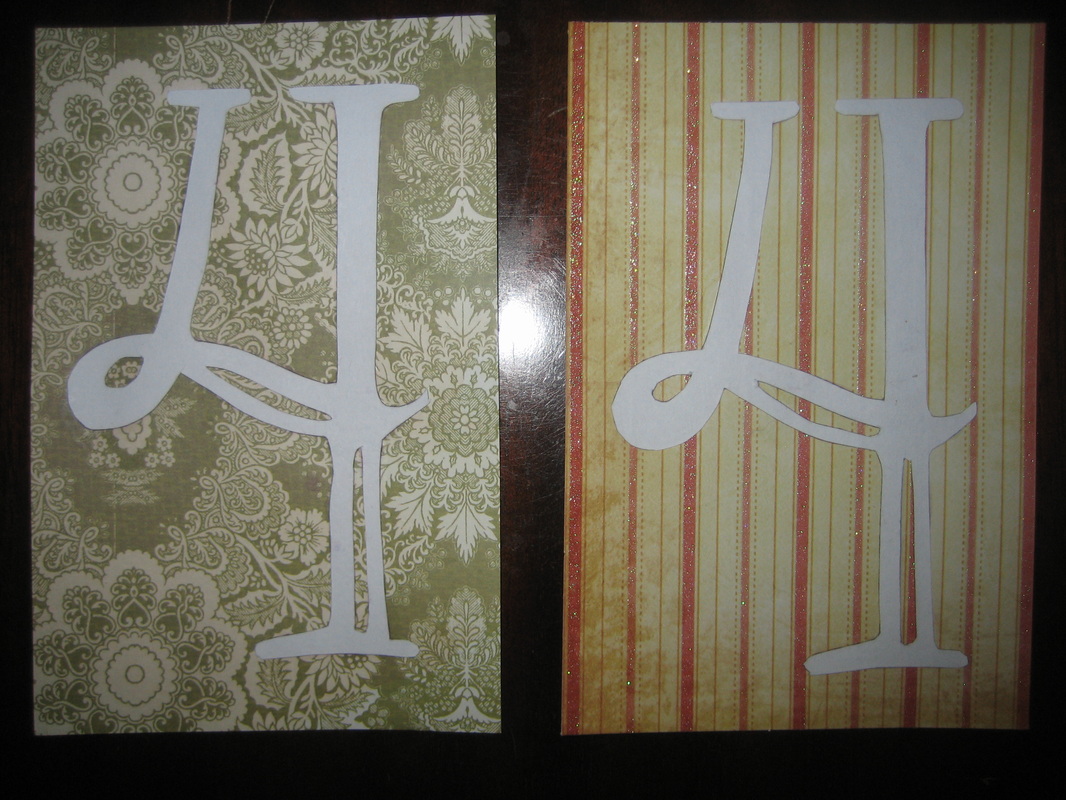
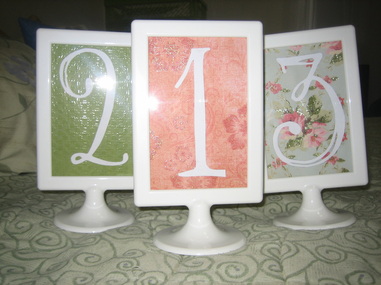
Table Numbers
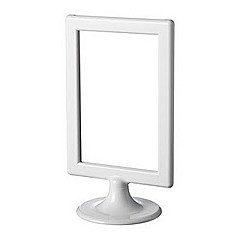
We'll be sticking with the good ol' fashioned number system for our tables. I'll be picking up a bunch of Ikea's Tolsby frame to display our numbers in. At 99 cents a pop, you really can't go wrong with these. I know they are white, but I hate how cheap the plastic looks (you get what you pay for) so I'll also be spray painting them .... white. Yes, the same color they come as. I want them white, but I'm hoping the spray paint takes away the shiny plastic-ness of the frames.
I cut colorful cardstock into 4x6 pieces to fit in the Tolsby's - these will be the background for the numbers. Then I set-up the numbers at the proper size in a Publisher document and flipped them horizontally. I cut out each of the numbers and glued them onto the cardstock backings. I need two of each number as they will go back-to-back in the frames. Here are just a few of the ones I have done so far: